Kiss Falscara Eyelash Starter Kit 01
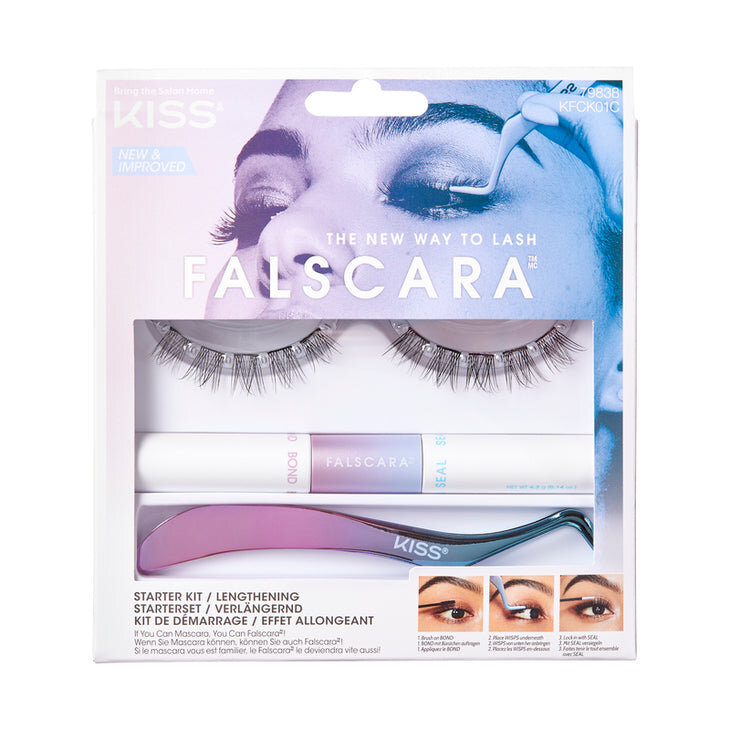
KISS Falscara Eyelash - Starter Kit What’s so different about Falscara? Traditional false eyelashes are glued to your lash line and rest on top of your lashes. Falscara WISPS attach to the underside of your natural lashes, so you cant even see the tiny microbands that hold the WISPS together. That’s what makes them look so natural. Go from a subtle look to super glam–WISPS are buildable and customizable.
How to use
Watch how-to video on KISSusa.com. Do not apply mascara before or after Falscara. Step 1: Brush a light coat of BOND on natural lashes. A little goes a long way! Step 2: Use the included APPLICATOR to pluck a WISP from the tray. As shown, pick up a WISP from the middle-outer end for optimal control. One by one, gently place the WISPS underneath the base of your natural lashes, slightly away from the waterline. Apply wisps starting from the outer corner of lash line, working inwards (or vice versa). Place WISPS right next to each other for a seamless look. Step 3: Dab a thin coat of SEAL under WISPS to eliminate any sticky residue and hold WISPS in place. Pro tips: If needed, after applying SEAL under WISPS, use the APPLICATOR or your fingers to squeeze the WISPS against your natural lashes; this helps the WISPS adhere for a more secure hold. TO REMOVE: Saturate a cotton pad with Falscara REMOVER or oil-free makeup remover. Place pad over eyes for 10 seconds, then gently wipe or peel off WISPS and BOND & SEAL. TO REUSE WISPS: Place used WISPS on a paper towel, coat with Falscara REMOVER or oil-free makeup remover, then let sit for 10 seconds. Saturate a cotton swab with remover and gently wipe away BOND & SEAL residue from the WISPS. Store WISPS in original packaging.